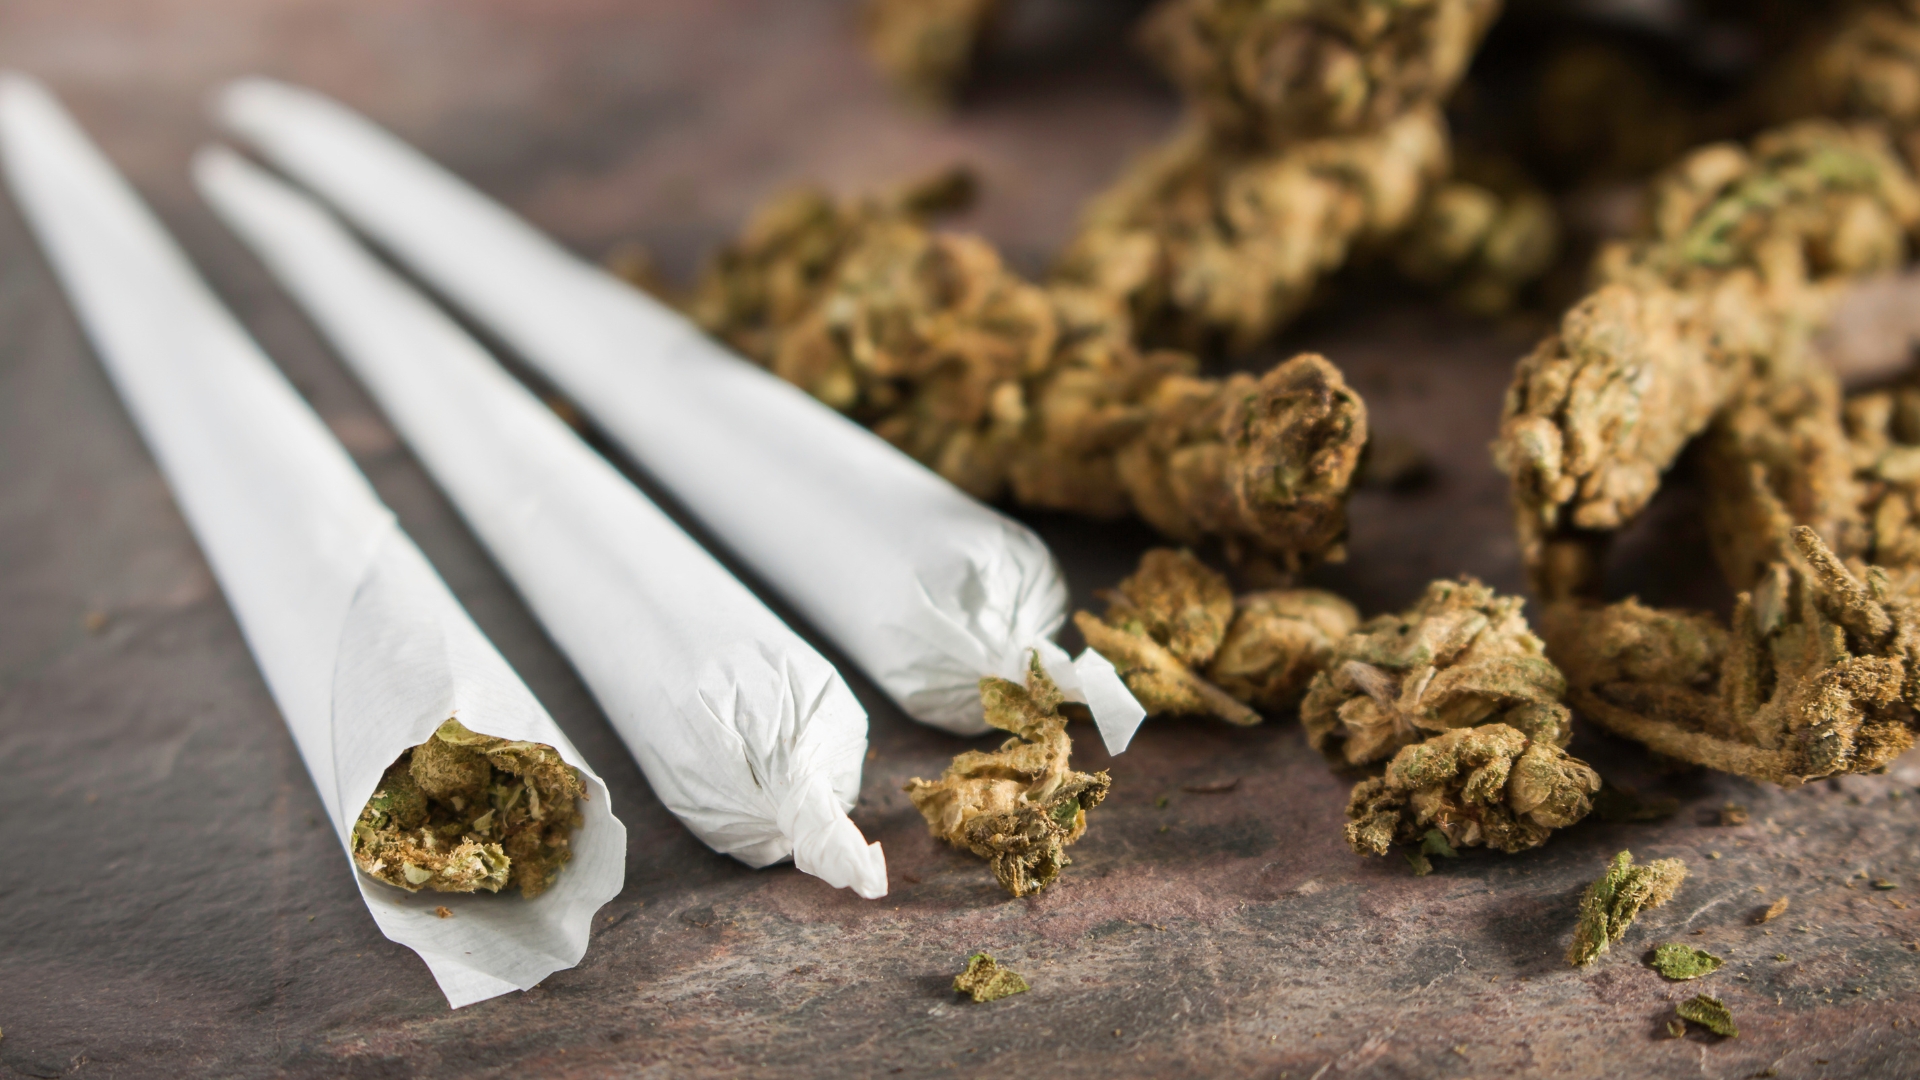
Rolling a joint is an art form that cannabis enthusiasts cherish. Many even consider mastering the roll as a rite of passage. But learning how to roll a joint that you actually want to smoke (and that smokes well) takes some serious practice.
This guide is designed to walk you through the process, from gathering your materials to rolling various types of joints, each increasing in complexity. By the end, you’ll understand the basics, along with some advanced techniques for rolling joints that impress.
What You’ll Need:
Before diving into the rolling process, let’s ensure you have all the necessary tools on hand. A successful roll starts with the right materials:
- Sungrown Flower: Call us biased, but we believe that the best joints are rolled with sungrown flower, rich in terpenes and cannabinoids.
- Hemp Papers: Preferred for their natural fibers and even burn. Hemp papers are durable, environmentally friendly, and contribute to a smoother smoking experience.
- Crutches (Filters): A crutch, or filter, supports the base of your joint and offers a cooler, more comfortable draw. They can be made from thin cardboard or pre-bought.
- Pokers: A small tool (even a pen works) to pack the joint evenly, ensuring a consistent burn.
- Rolling Tray: Provides a clean, flat surface for assembling your joint, making the process neater and more organized. Magazines or books are also perfectly suitable!
- Grinder: Essential for breaking down your cannabis into a rollable consistency without compressing the flower too much.

Grind Your Weed the Right Way
A quality grinder is pivotal for preparing your weed. Traditional grinders with razor-sharp teeth can sometimes over-process the flower, leading to a loss of terpenes and cannabinoids.
The Flower Mill Grinder, gaining attention for its innovative design, uses a milling approach to gently crumble the flower instead of shredding it. This method preserves the integrity of the terpenes, ensuring your joint has the full flavor profile and potency of the strain.
You might even opt for breaking up the herb with your fingers. Just make sure your hands are clean, and you get a consistent particle quality.
How to Roll a Joint
Rolling a straightforward joint is an essential skill for any cannabis enthusiast. It’s the baseline from which all other rolling techniques evolve. Here’s how to master this foundational skill, ensuring a smooth smoke and an even burn.
Steps to Roll a Perfect Joint
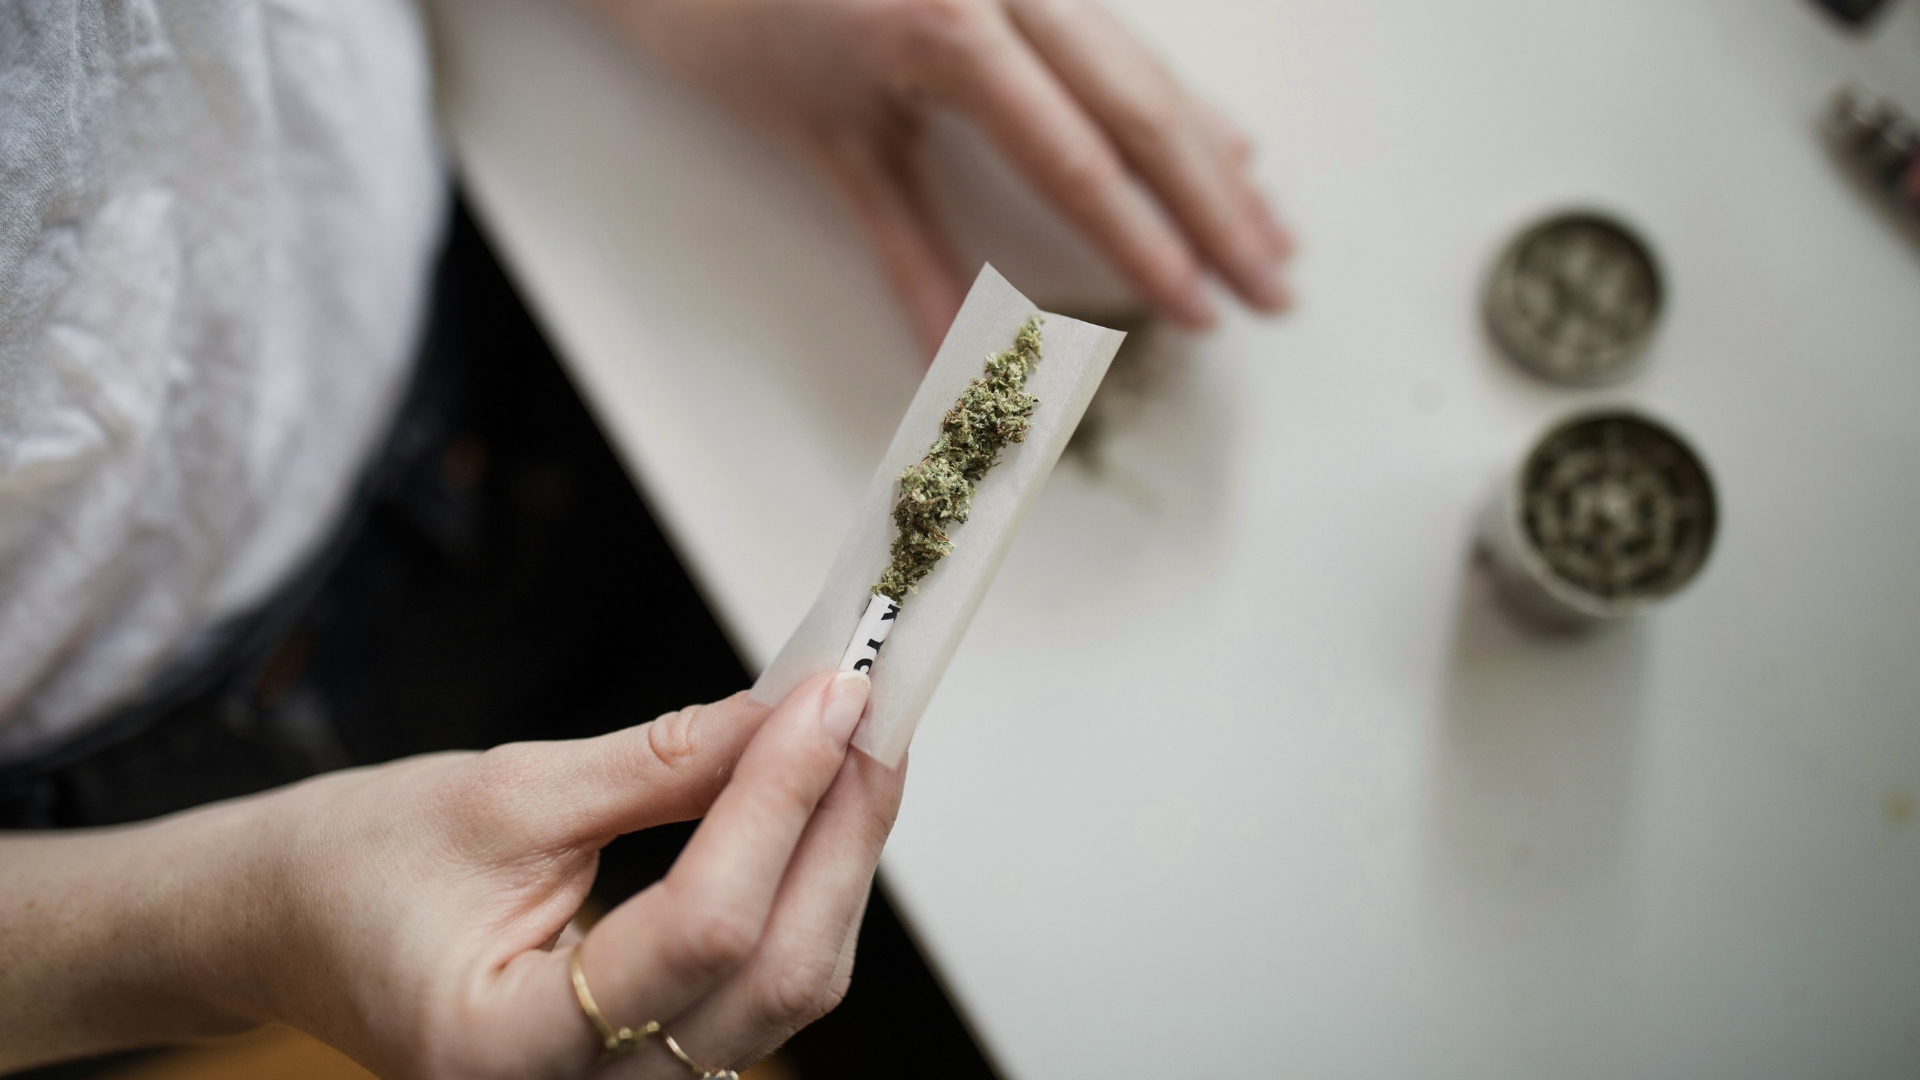
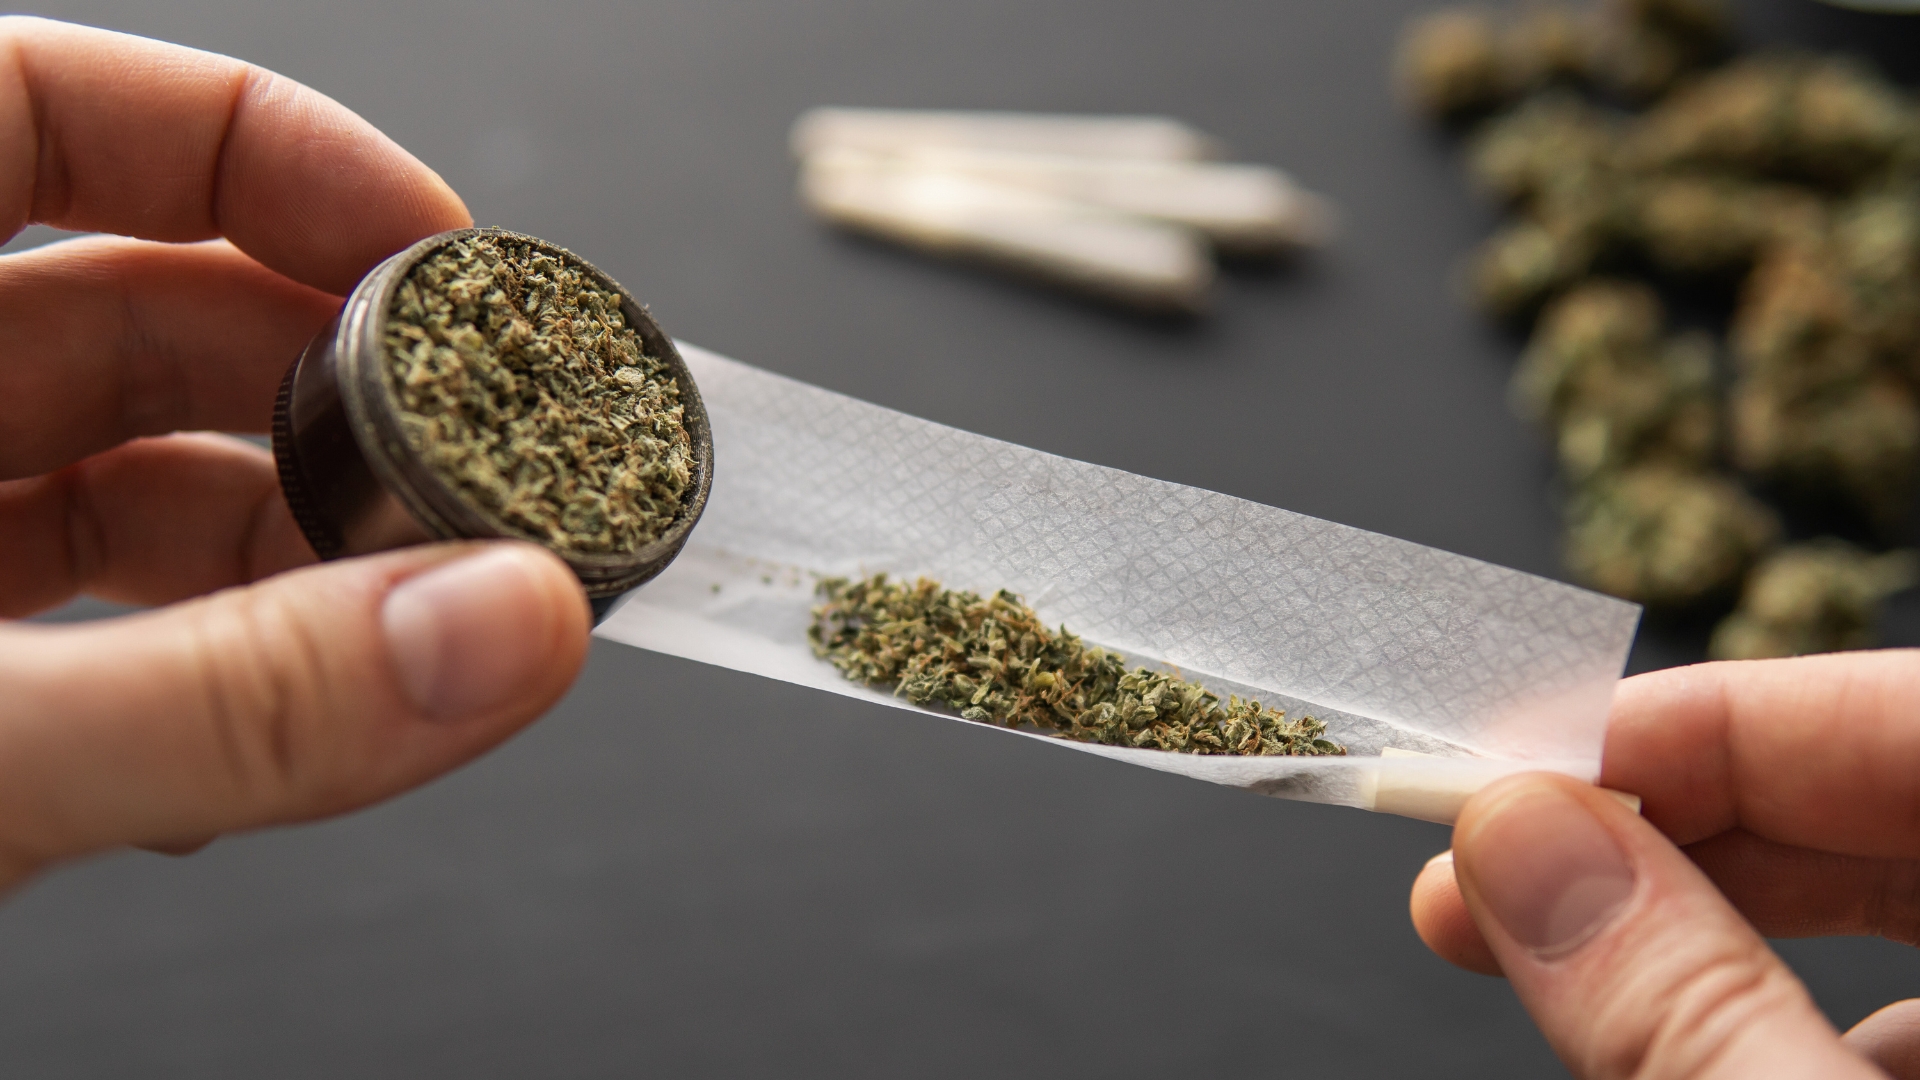
- Prepare Your Cannabis: Use your grinder to break down your cannabis to a fine, but not powdery, consistency. A fluffy grind ensures an even burn without restricting airflow.
- Make Your Crutch: Fold a piece of thin cardboard into an accordion shape, then roll it to the desired diameter of your joint. This serves as the joint’s mouthpiece and prevents any material from pulling through.
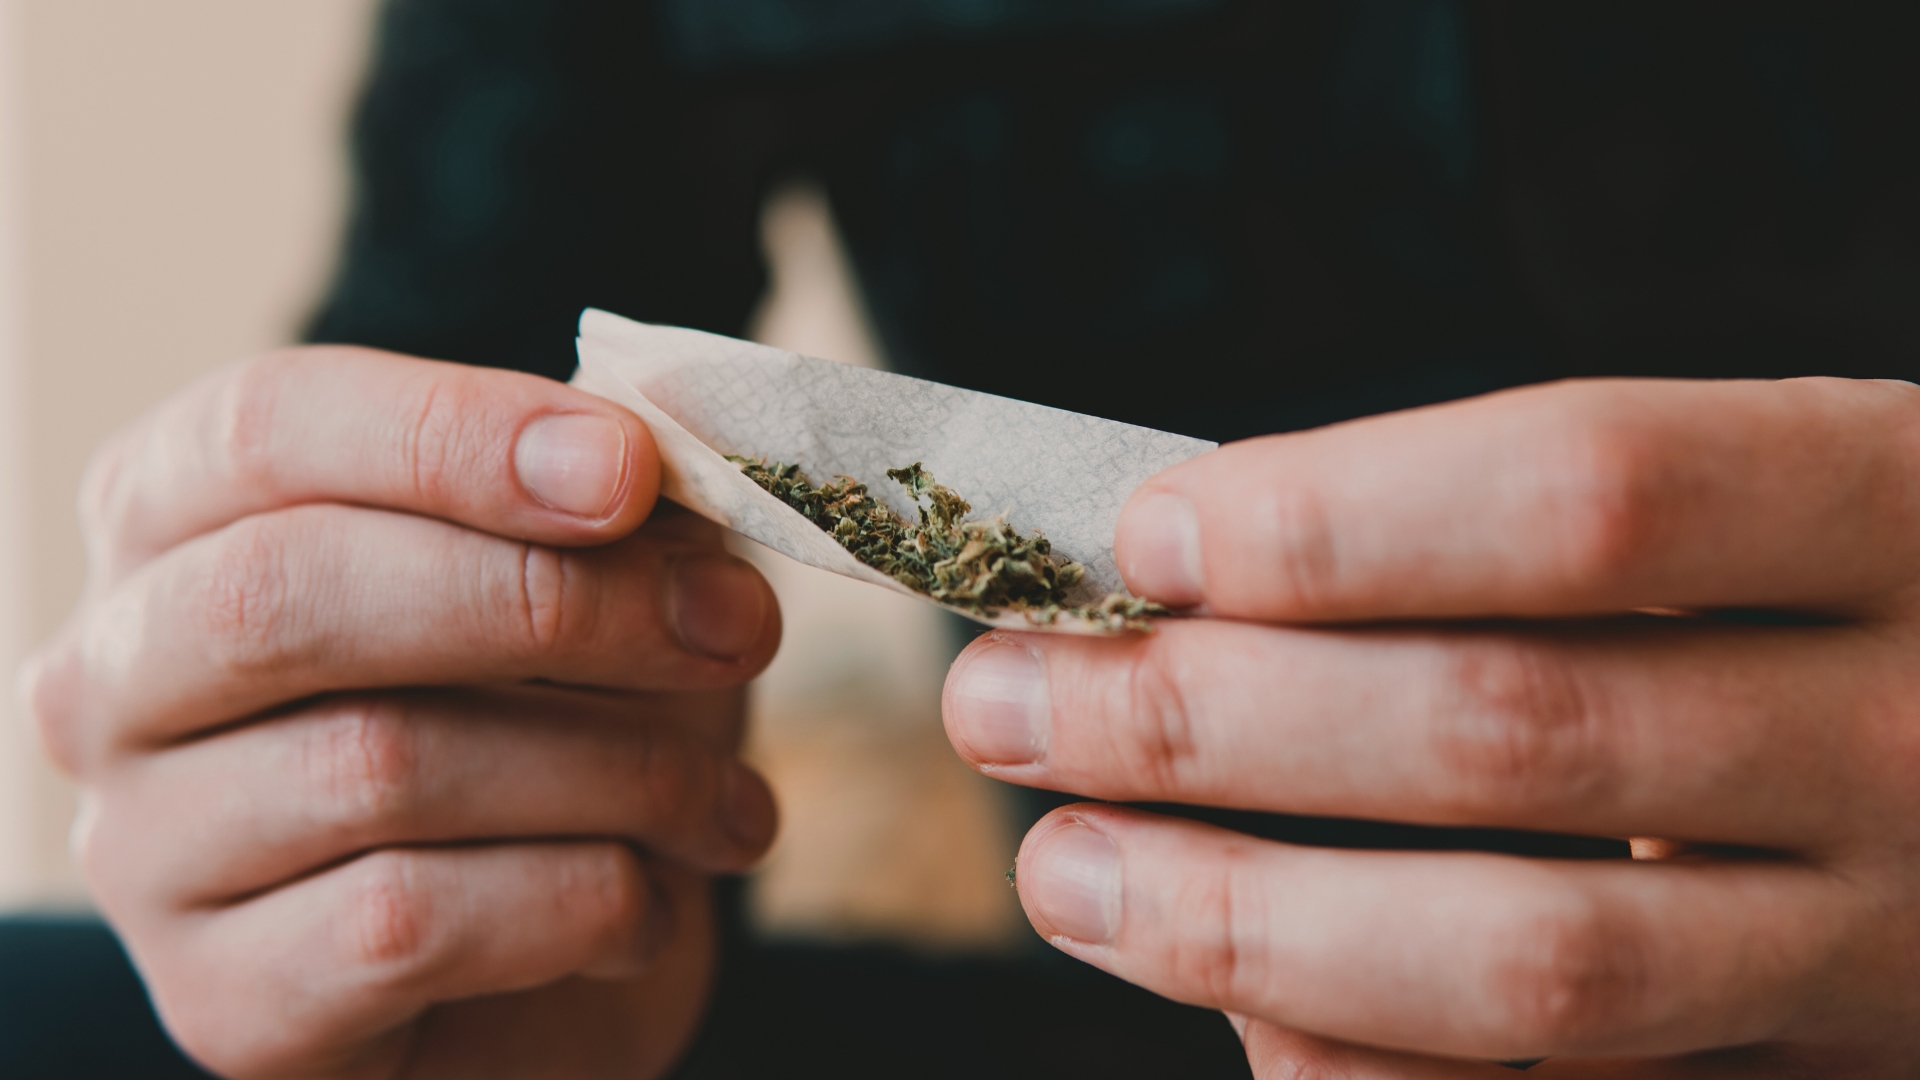
- Fill Your Paper: Lay out your rolling paper on a flat surface with the adhesive strip facing up and toward you. Form a crease down the middle of the paper to create a trough for your cannabis. Evenly distribute your ground cannabis along the trough, leaving space at one end for the crutch.
- Roll the Joint: Pinch the paper between your thumbs and forefingers, gently rolling back and forth to shape the cannabis into a cylinder. Once shaped, tuck the non-adhesive side of the paper around the cannabis and under the adhesive strip. Starting from the crutch end, carefully roll upwards, sealing the joint with a lick across the adhesive strip.
- Pack and Finish: Use a pen or similar object to lightly pack the cannabis down from the open end. This step ensures there are no air pockets which could cause an uneven burn. Twist the excess paper at the open end to close the joint.
- Enjoy: Your joint is now ready to smoke. Light the twisted end, take a moment to ensure it’s burning evenly, and enjoy.
Rolling a joint proficiently may take a bit of practice, but it’s a rewarding and essential skill for any cannabis lover. With patience and practice, you’ll be rolling joints you’re proud to share in no time.
How to Roll a Cone Joint
Cone joints are celebrated for their stylish look and the progressive smoking experience they offer—starting off strong and tapering to a gentler finish. Rolling a cone might seem daunting at first, but with these steps, you’ll be able to craft one like a pro.
Steps to Roll a Perfect Cone Joint
- Prepare Your Materials: Just like with a standard joint, start by grinding your cannabis to a fluffy consistency. Having your crutch ready and a cone-shaped paper (wider at one end) will also make the process smoother.
- Form the Crutch for Your Cone: Roll your crutch into a slightly conical shape to match the wider end of your joint. This helps maintain the cone’s shape and provides a sturdy base to build on.
- Fill Your Paper and Shape the Cone: Place your crutch at the end of the paper, then spread out your cannabis, tapering the amount as you move toward the narrower end. Use your fingers to shape the cannabis into a cone, mirroring the paper’s shape.
- Roll and Seal Your Cone: Start rolling from the crutch end, carefully tucking and rolling the paper around the cannabis. The key here is to maintain the cone shape as you roll, tucking in less and less paper as you get to the end of the joint. Once rolled, lick the adhesive strip and seal the joint from bottom to top. It may take a couple of tries to get this one right, or you end up with a ‘pregnant’ joint!
- Pack Your Cone Joint: Use a poker to gently pack the cannabis from the top, ensuring there are no air pockets. This step helps the cone burn evenly. Many times, there is room for extra cannabis at the top. Add a little and pack it in as needed. If there’s excess paper at the tip, you can twist it to close or trim it with scissors for a cleaner look.
- Final Touches: Give your cone joint a gentle tap on the table to settle the contents. This ensures a snug fit and a smooth burn.
Cone joints offer a visually appealing twist on the traditional joint but also provide a dynamic smoking experience. With practice, rolling a cone will become second nature.
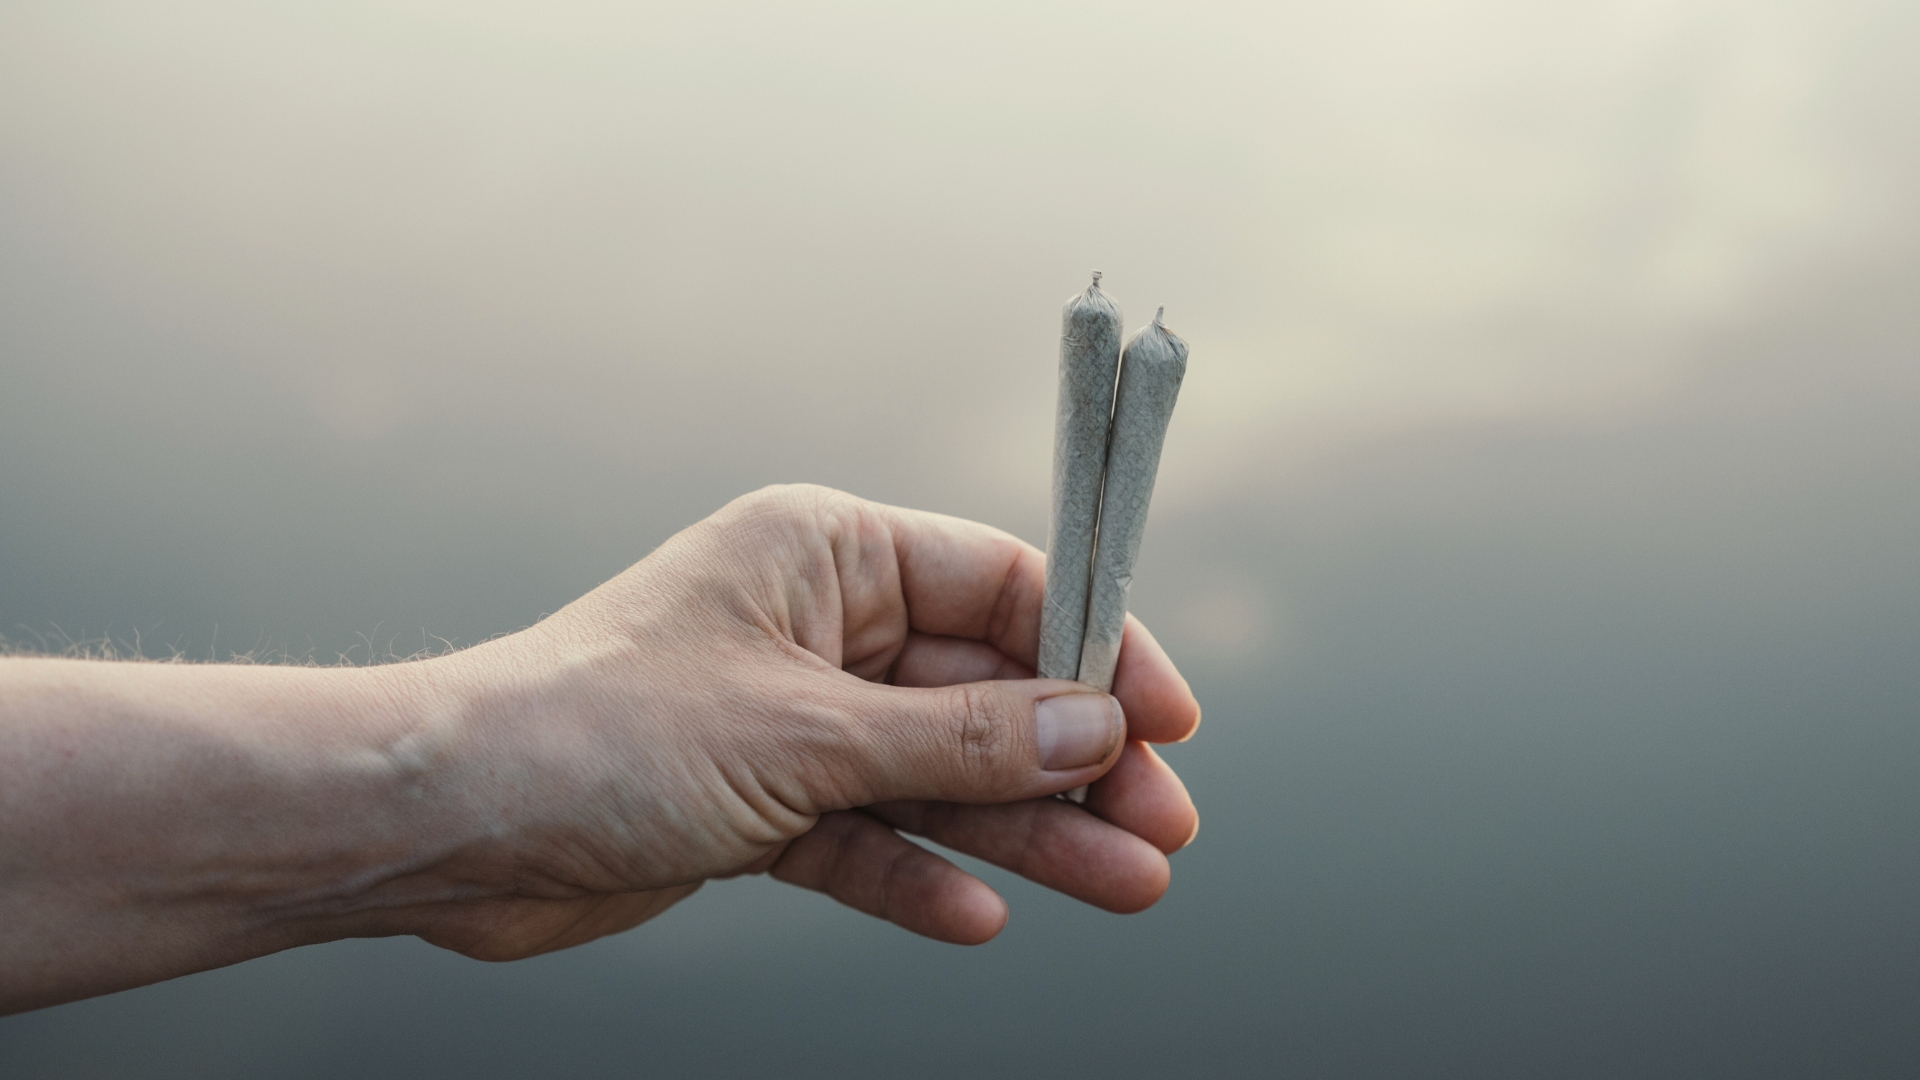
How to Roll a Shotgun Joint
The shotgun joint, named for its resemblance to the double barrel of a shotgun, offers a unique and intense smoking experience. It involves two joints connected at their tips, allowing for a double hit. This method is perfect for sharing or for those looking for a stronger effect. Here’s how to roll your own shotgun joint.
Steps to Roll a Shotgun Joint
- Roll Two Individual Joints: Begin by rolling two standard joints. Make sure they are similar in size and density for a consistent burn. Avoid using crutches for these, as you’ll be connecting the tips.
- Connect the Joints: Prepare a small piece of rolling paper to use as a binder. Lightly moisten one side of this paper. Align the tips of your two joints and wrap the moistened paper around both, sealing them together. This connection is crucial for the shotgun effect, so ensure it’s tight and secure.
- Seal and Dry: Once the joints are connected, gently run a lighter around the seam to help dry and seal the binder paper. Be careful not to ignite the paper or cannabis.
- Prepare to Smoke: You’re almost ready. Ensure the connection is airtight by giving it a gentle test pull.
- Lighting and Smoking: Light the open ends of both joints simultaneously. This requires a bit of coordination and perhaps an extra set of hands. Inhale from the connected end and enjoy the combined hit from both joints.
Rolling a shotgun joint is an advanced technique that may take a few tries to perfect. Here’s a great video on one technique that might be worth trying out.
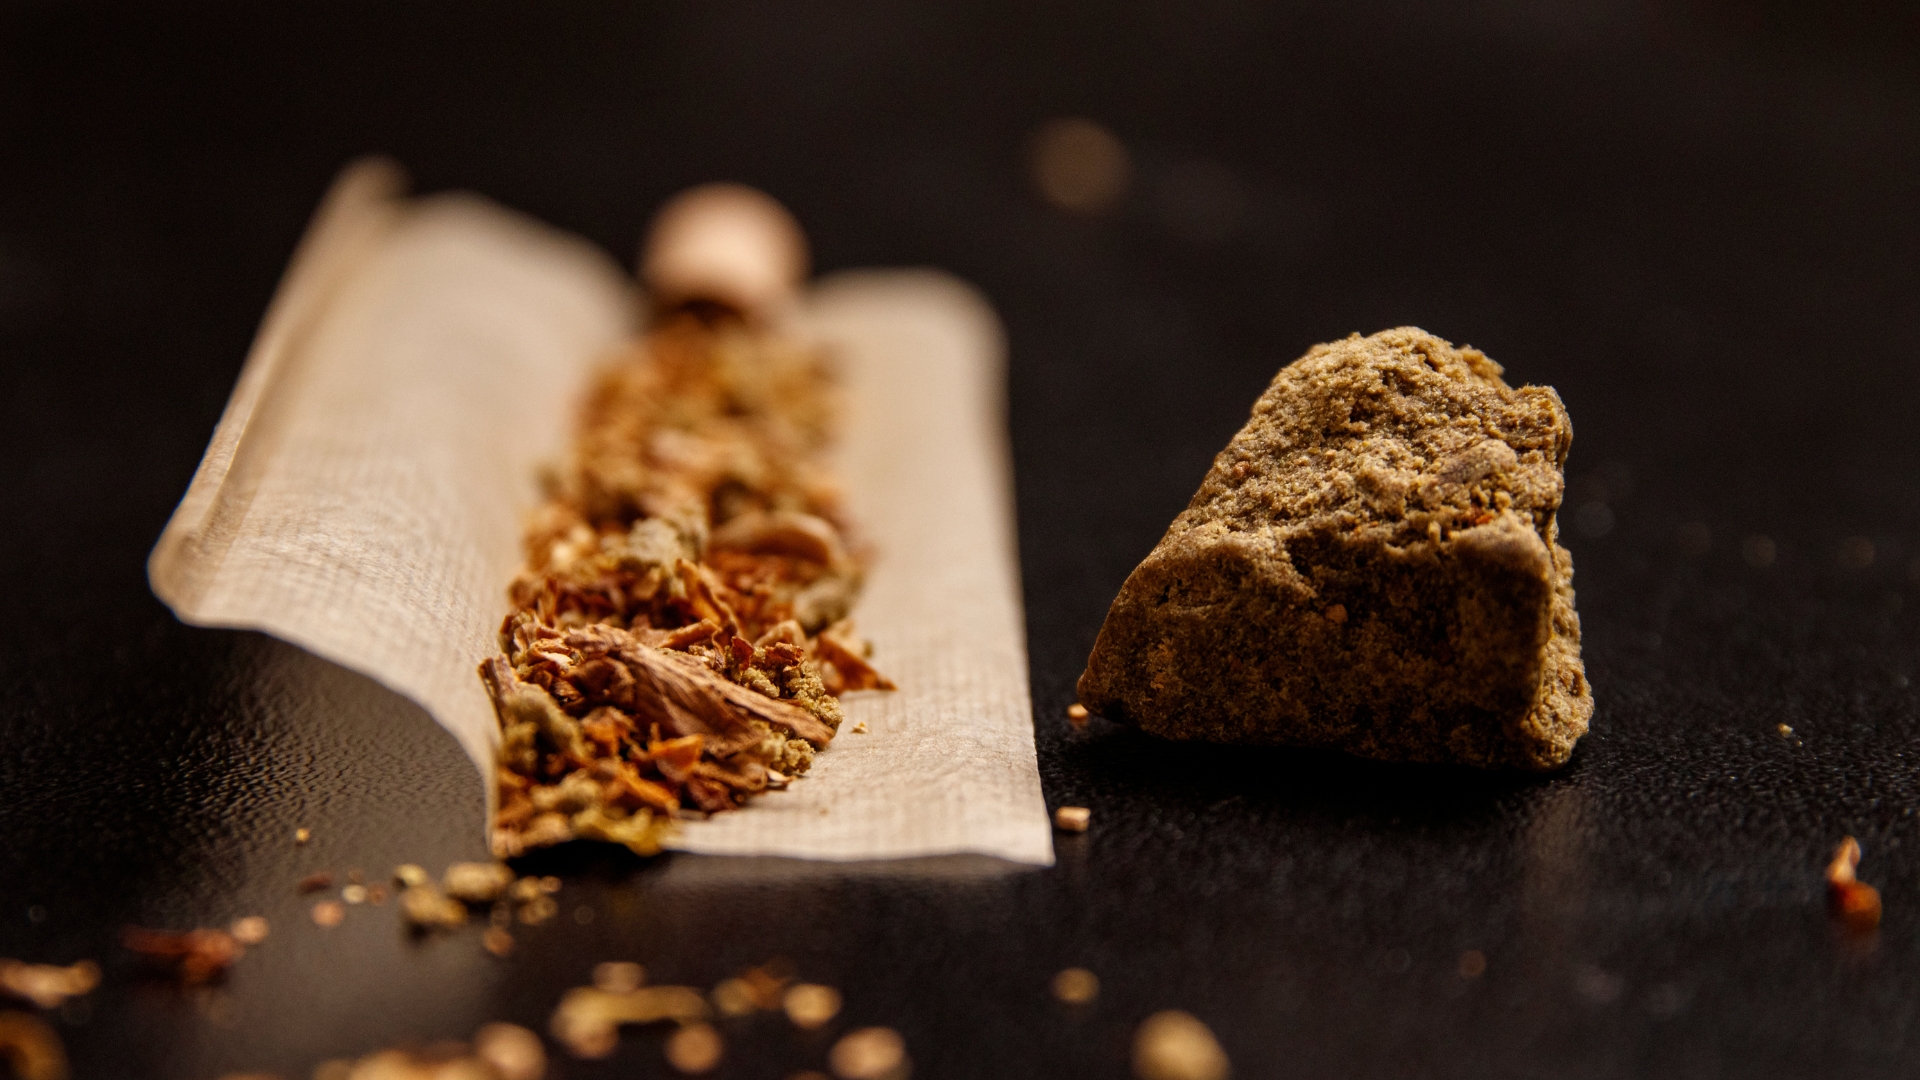
How to Roll a Hash Hole
The hash hole joint incorporates a core of hashish within the cannabis, offering an intensified flavor and potency. This method enhances the smoking experience while ensuring a smooth, even burn. While it may sound complex, rolling a hash hole joint is manageable with a bit of practice.
Steps to Roll a Hash Hole Joint
- Prepare Your Cannabis and Hash: Grind your cannabis to a fluffy consistency, similar to preparing for a standard joint. Take a small piece of hash and roll it into a thin, pencil-like shape, slightly shorter than your joint will be. We like a classic bubble hash here for its easy handling.
- Form the Base of Your Joint: Roll a standard joint loosely, leaving enough space in the center for the hash core. Alternatively, you can place your ground cannabis on the rolling paper, creating a groove down the middle for the hash.
- Insert the Hash Core: Carefully place your rolled hash in the center of the cannabis bed or the pre-rolled joint. Ensure it’s positioned in the middle for an even burn.
- Roll Your Joint Around the Hash Core: Gently roll the paper around the cannabis and hash core, ensuring the hash stays centered. Seal the joint with the adhesive strip as usual.
- Seal and Finish: Once rolled, tap the joint on a surface to settle the contents around the hash core. Use a poker to pack the ends if necessary, ensuring there are no air pockets around the hash. Twist or trim the excess paper at the top.
- Light and Enjoy: Light your hash hole joint and enjoy the enhanced flavor and effects. The hash in the center will burn slower than the surrounding cannabis, providing a consistent and enjoyable smoking experience.
Rolling a hash hole joint is an excellent way to amplify your buzz. It combines the aromatic complexity of hash with the smoothness of a well-rolled joint, creating a memorable experience for any cannabis connoisseur.
One Last Hit
Rolling the perfect joint is a skill that enhances the cannabis experience, offering a sense of satisfaction and a personal touch to every puff. From the basic joint to the more complex hash hole joint, each style offers its own unique set of pleasures and challenges.
- Start Simple: Mastering a basic joint is the foundation upon which all other styles are built. Focus on getting this right, and you’ll find the more complex rolls become easier.
- Experiment: Don’t be afraid to try different techniques. Each type of joint offers a different experience, both in the rolling process and the smoking session.
- Quality Matters: The cannabis and hash you choose, the grinder you use, and even the paper all contribute to the final experience. Invest in good materials to get the best results.
- Practice Makes Perfect: Like any skill, rolling a great joint comes easier with practice. Each attempt brings you closer to rolling joints you’re not only happy to smoke but proud to share.
Learning how to roll a joint is a pretty decent hobby, so keep practicing! It connects you more deeply to the ritual of smoking, grounding you in the experience from preparation to inhalation.
We hope this guide has provided you with valuable insights and techniques to enhance your joint-rolling skills. Humboldt Family Farms is proud to accompany you on this journey, offering the finest cannabis to make each roll worthwhile. Keep rolling, keep exploring, and most importantly, enjoy every hit.